


1. Wipe tile clean of dust
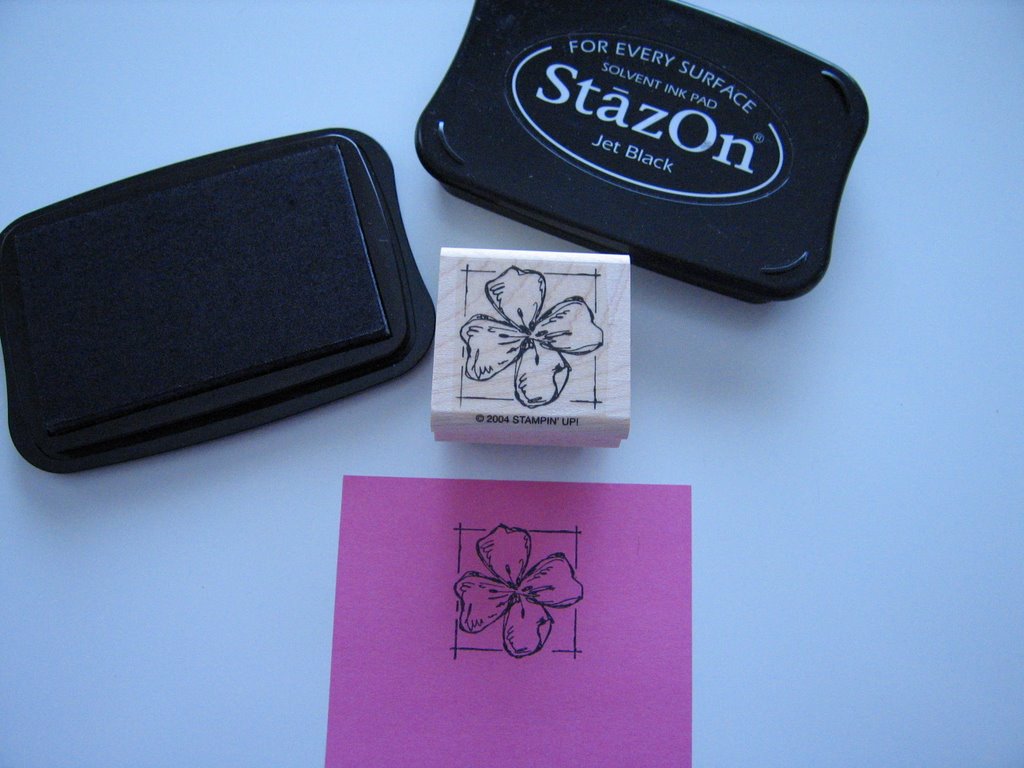
2. Stamp center image on post-it note, be sure to stamp high enough on the post-it so the sticky part is behind image
3. Using StazOn ink, stamp center image on tile; practice first since this ink is permanent
4. Trim image stamped on post-it & stick to tile over top of stamped image
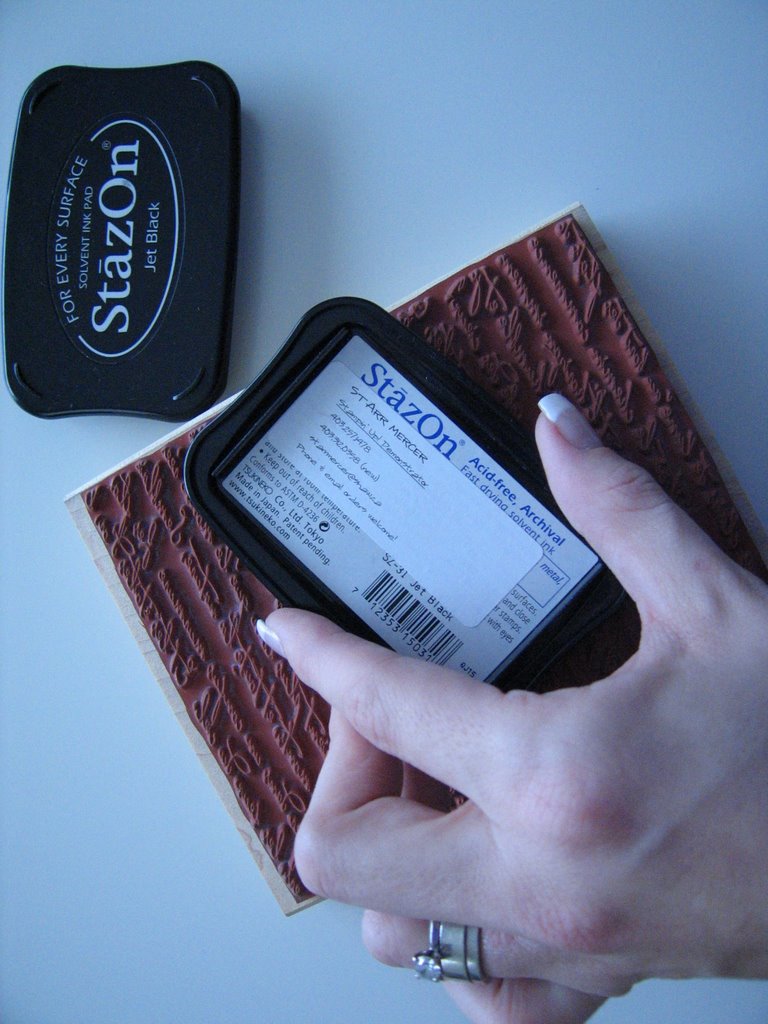
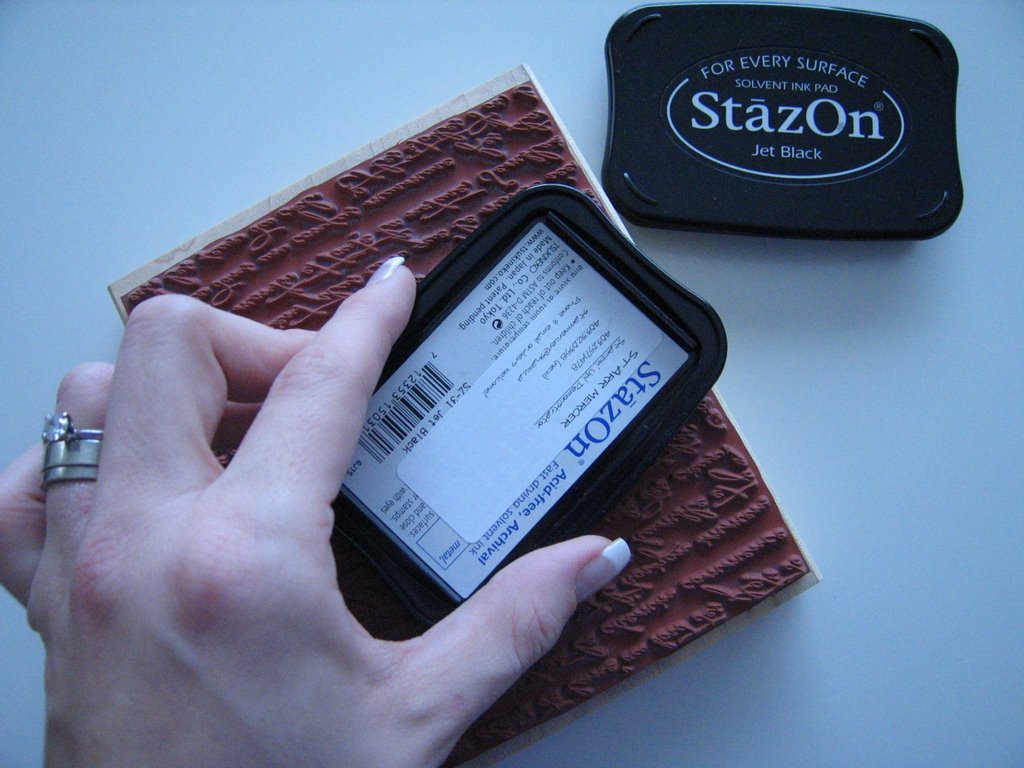
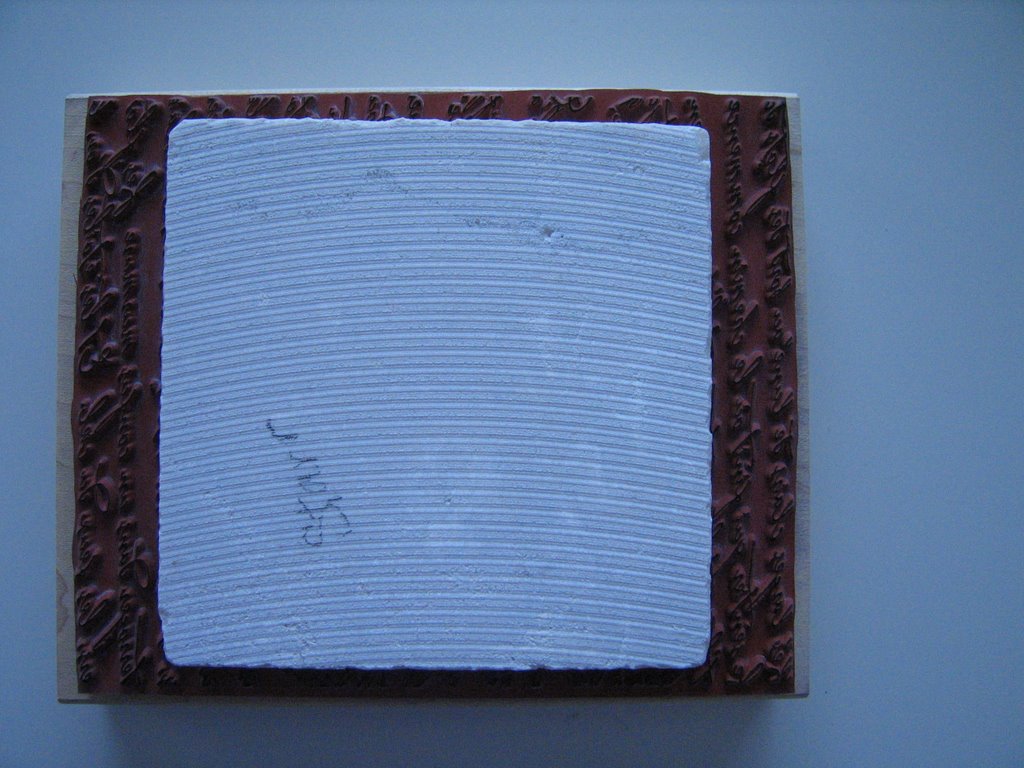
5. Ink background stamp using StazOn ink
6. Reverst the tile & place on top of inked background stamp; ink will dry fast so try to be quick
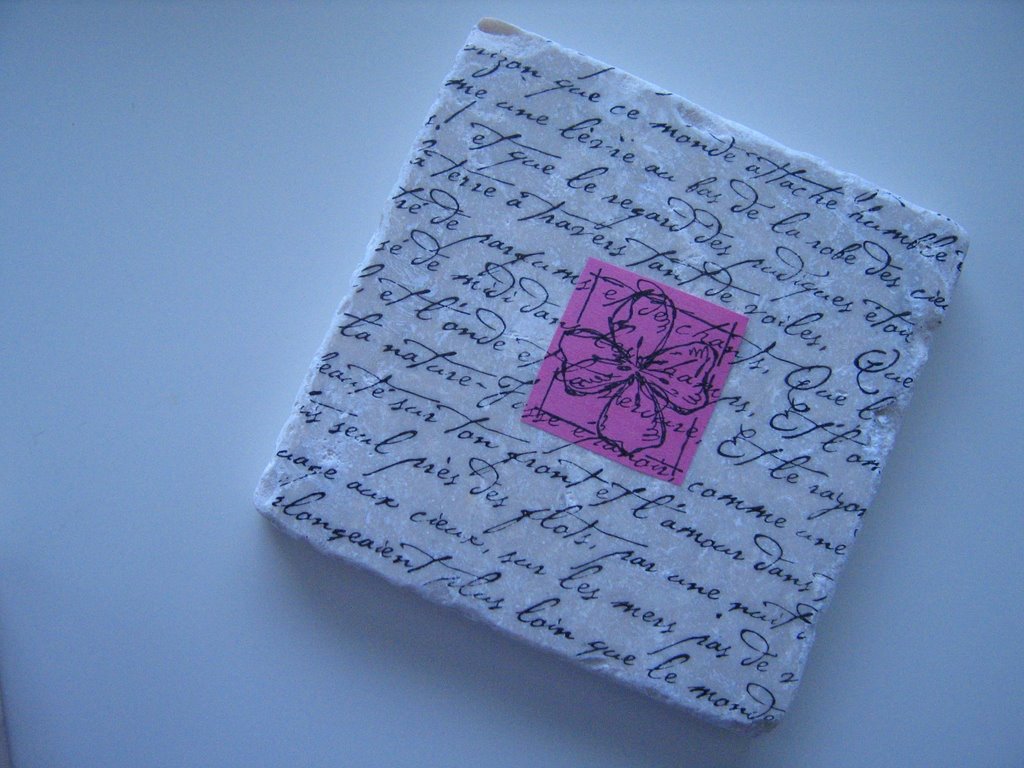
7. This is what your tile will look like
8. Remove the post-it
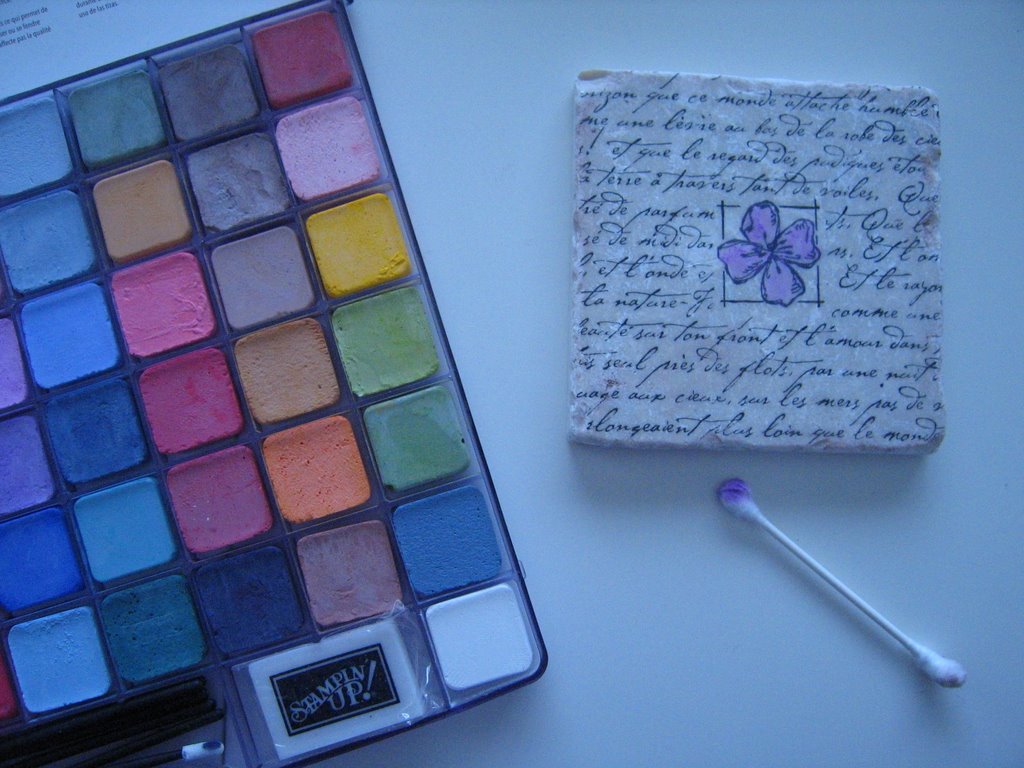
9. Add some color if you desire with a Q-tip and Stampin' Pastels
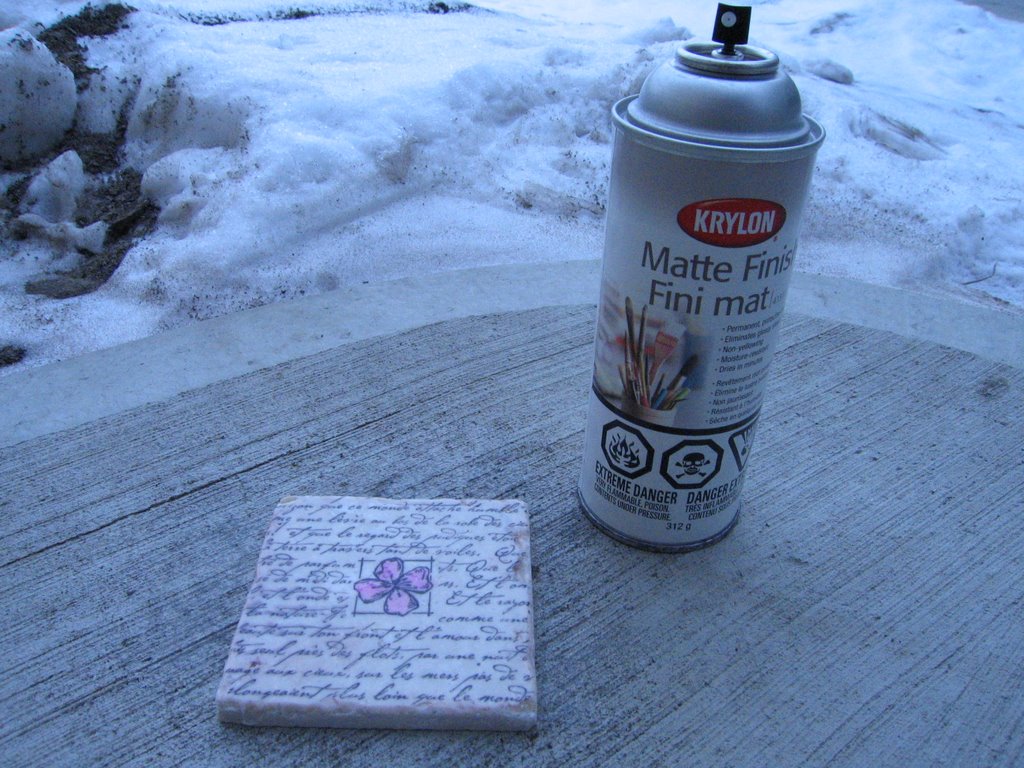
10. Spray with clear matte finish & let dry for 10 minutes
No comments:
Post a Comment